The image I choose is MeatHook, probably cause it is new, and I still like it (and have all the steps still fresh in my mind) ;)
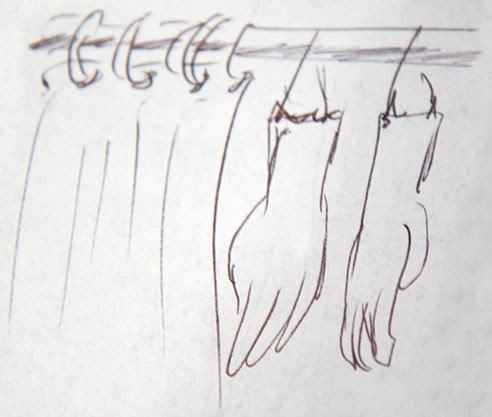
I can't really say where the idea came form, but I know I was pretty peaved after wasting about an hour trying to get my small apartment to behave like a big studio, so I had to give up on my initial idea, and thought I'd do something somewhat sick.
And this is what I came up with.
The camera set to f/8, 1/200, ISO 100, and the lens is at 20mm for these shots.
The flash is set fairly strong (1/4 power), and is fairly close to the subject (3 feet or so).
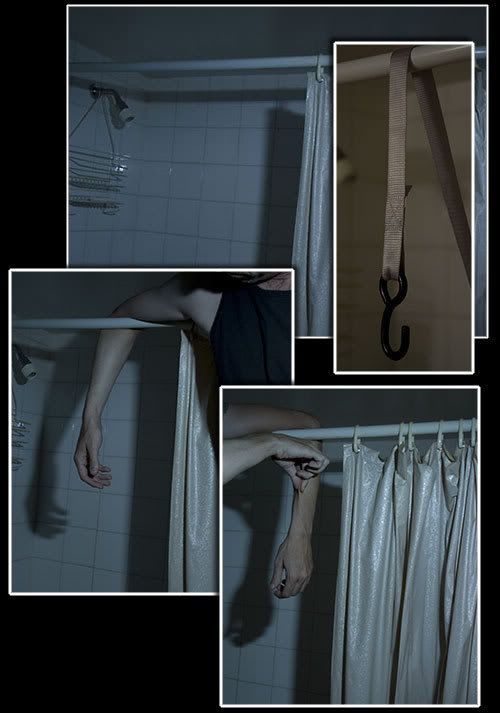
I took a pics of the shower, my left arm in place, and my right arm in place, and some hanging hooks. The camera was on a tripod so they would all match up when they were comp'd together - clearly I bumped it cuz they didn't match up, and set my flash to camera right with a blue gel on it to get a kinda erie "morgue"'ish color in the scene.
The pics I ended up choosing are the following (I had multiple hook shoots, but only showing one because they are all the same, just different angles):
In the EAW settings, I usually lower the Exposure a bit (- ~5), increasing the Blacks (+ ~5), and reducing Vibrance and saturation (- ~15-30). This gets the more gloomy, muted tones that I like. The other settings may be tweaked a bit too, but the above are almost always changed.
I also tweak the RAW's Temperature and Tint settings also, but values depend greatly on wether or not I add a gel to my flash, and what color it is. Pretty much guesswork. (Often the overall tone of my final result changes due to me finding a new color that I like playing in here).
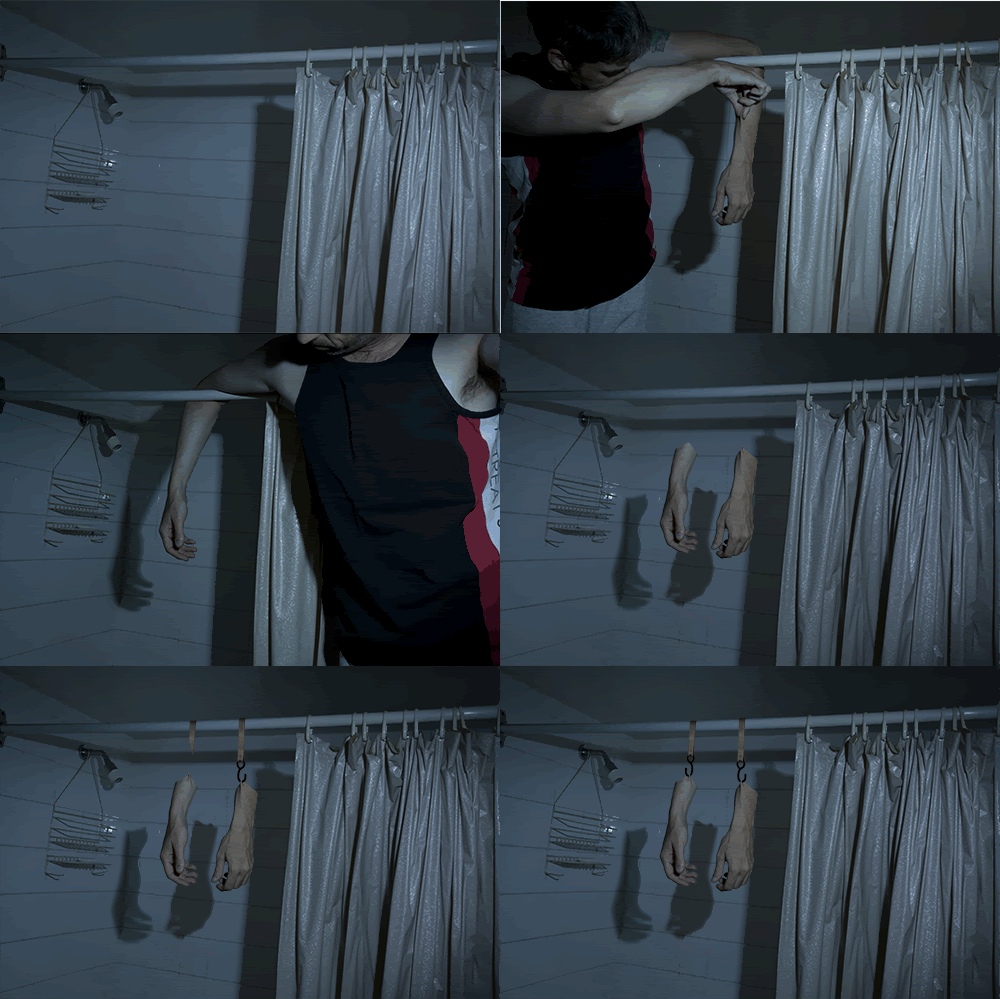
I put all of the images in the same working file, and started masking out each arm, each arms shadows, and the the hook. Using the clone tool, and some painting I added the rest of the "Hook marks" from the pinch of skin in the left arm. Here's a WIP.
Once done, I flattened the image, add the wrinkles to the top of the arms:
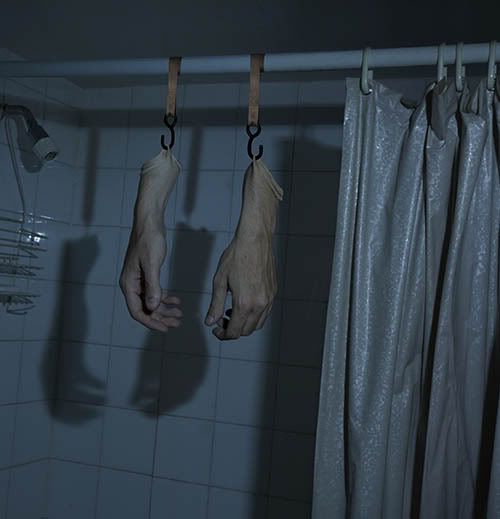
At this point, the main work is done, and the remaining editing will adjust the overall image mood, and color.
I duplicate visible layers to a new layer (Cmd-option-shift-E), and convert it to black and white.
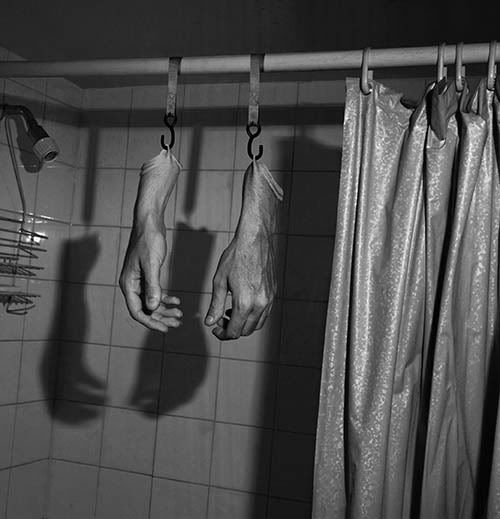
I do this step to most of my images to darken it a little more. I set the layer blending mode to overlay, (39% in this case), and masked out the shower curtain because I wanted it to remain a little brighter as it is closer to the light source. I again all layers to a new layer and run a HighPass filter over the new layer.
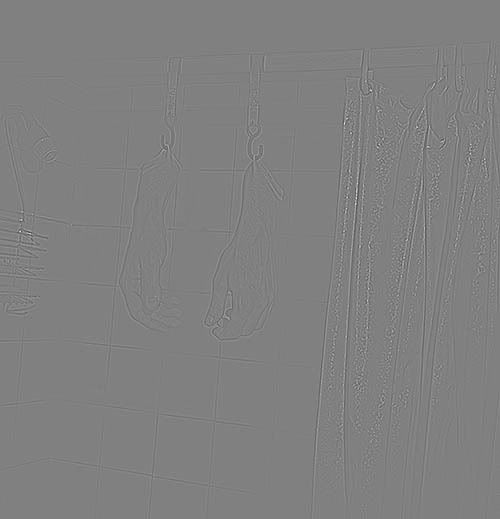
I set the Overlay layer to "Vivid Light" blending mode, and masked out the hands. (The highpass on vivid did not look good on the hands with big pore like artifacts appearing.)
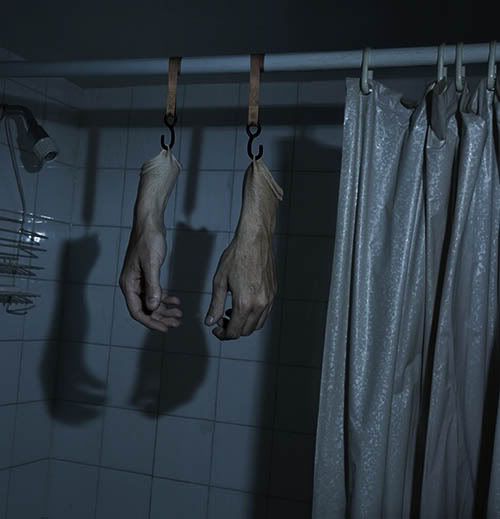
At this point, it looks good enough to me (or at least I've spent too much time on it) so resize, Crop, add a vignette, border, and posted.

5 comments:
That's absolutely amazing. You are so clever!
Awesome work! Very clever, very ingenious and inventive and very effective. Lovely work!
Wow. What a great little tut. You should but that on Worth. Amazing.
Outstanding.... A lot of work, and a lot of thought went into this. Great result! Thanks for sharing this.
Stunning, simply stunning! And thanks for sharing the workflow, I've got a lot to learn!
Post a Comment