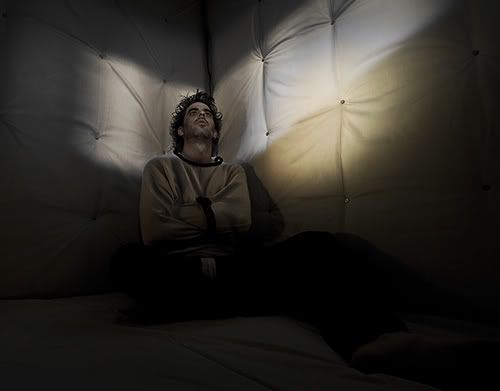
This image is from Worth's Team Photo Competition Round 1.
The theme was "Borders" and I decided to go the "Border of sanity" route, or I guess "Border of Insanity" route.
Either way, it's the same border, just a different direction.
Saturday, October 18, 2008
Thursday, August 14, 2008
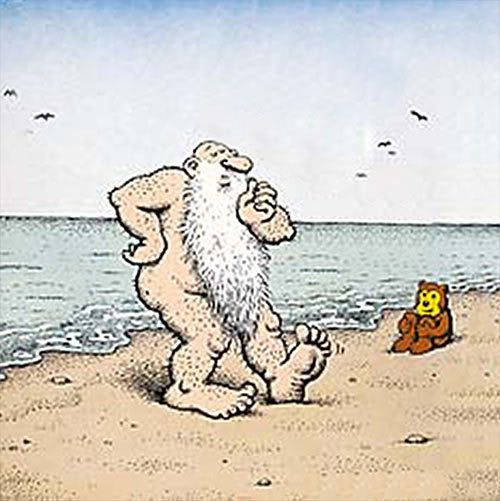
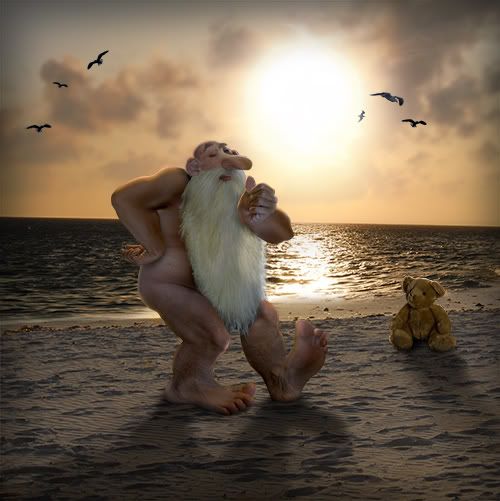
DeTooning Robert Crumb - Mr. Natural
This is the only image on this blog that is not a photograph. I include it here, because I really like the result.
The contest objective was to De-Toon a Robert Crumb image, and creating as realistic image as possible. There were also requirements not to use controversial or offensive images which removed approximately 98% of Crumbs most popular drawings and characters. :)
Final - Mr. Natural
Original Source
The contest objective was to De-Toon a Robert Crumb image, and creating as realistic image as possible. There were also requirements not to use controversial or offensive images which removed approximately 98% of Crumbs most popular drawings and characters. :)
Final - Mr. Natural
Original Source
Thursday, July 31, 2008
Samir and his Baby
Day 31 - The Last Photo.
Wednesday, July 30, 2008
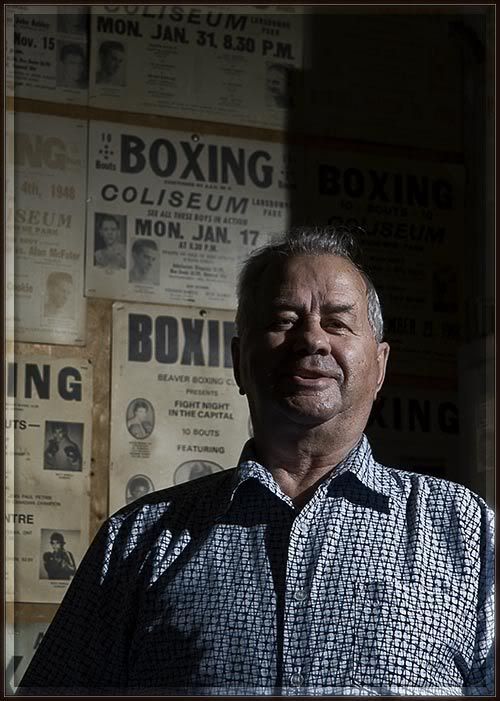
Day 30 - Joey Sandulo
Joey Sandulo let me and a buddy (MyShutterBug) run around his gym taking pictures for a couple of hours today. He had never met us before, and he was all class, as he put up with a couple of amateur photogs, telling us great stories all the while. I doubt that he will ever see this, but if he does, Thank You.
Here are some facts about Joey's career:
Joe Sandulo is the president and head coach of the Ottawa Beaver Boxing Club.
He has assisted and coached several Canadian champions including Brian Brennan, Ian Clyde, Samir Loati and the club’s newest champion, Jill Perry.
At the age of 16, Mr. Sandulo became the youngest Canadian Amateur Boxing Champion (a record that will never be broken), and competed in the 1948 Olympic games.
He is a member of the Canadian Boxing and Ottawa Halls of Fame.
Sunday, July 27, 2008
Saturday, July 26, 2008
Day 26 - Meathooks
Friday, July 25, 2008
Thursday, July 24, 2008
Wednesday, July 23, 2008
Tuesday, July 22, 2008
Day 22 - Quick Change Artist
Monday, July 21, 2008
Sunday, July 20, 2008
Saturday, July 19, 2008
Friday, July 18, 2008
Thursday, July 17, 2008
Wednesday, July 16, 2008
Tuesday, July 15, 2008
Monday, July 14, 2008
Sunday, July 13, 2008
Day 13 - What could it be?
Saturday, July 12, 2008
Friday, July 11, 2008
Thursday, July 10, 2008
Wednesday, July 9, 2008
Tuesday, July 8, 2008
Monday, July 7, 2008
Sunday, July 6, 2008
Saturday, July 5, 2008
Day 5 - The Night Before...
Friday, July 4, 2008
Thursday, July 3, 2008
Day 3 - Two Boots on a wire
Wednesday, July 2, 2008
Tuesday, July 1, 2008
Monday, June 30, 2008
Making the Meathook...
I've been asked by a couple of fellow Worthians about my workflow, so I wrote this up.
The image I choose is MeatHook, probably cause it is new, and I still like it (and have all the steps still fresh in my mind) ;)
I can't really say where the idea came form, but I know I was pretty peaved after wasting about an hour trying to get my small apartment to behave like a big studio, so I had to give up on my initial idea, and thought I'd do something somewhat sick.
And this is what I came up with.
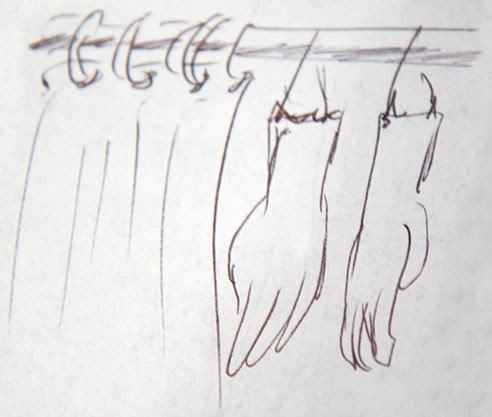
The camera set to f/8, 1/200, ISO 100, and the lens is at 20mm for these shots.
The flash is set fairly strong (1/4 power), and is fairly close to the subject (3 feet or so).
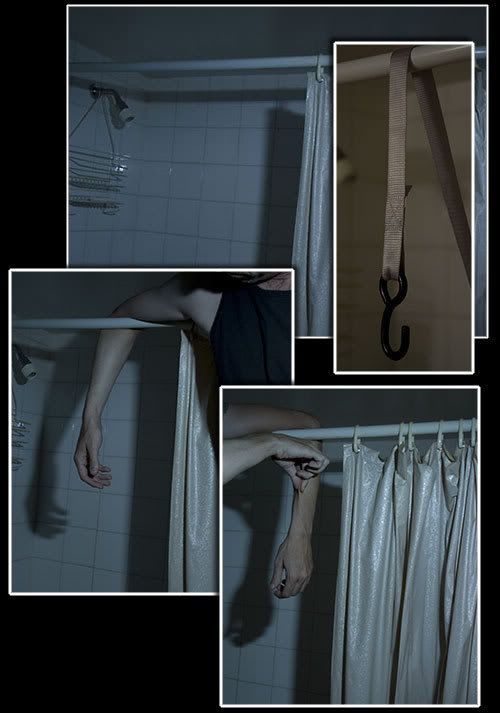
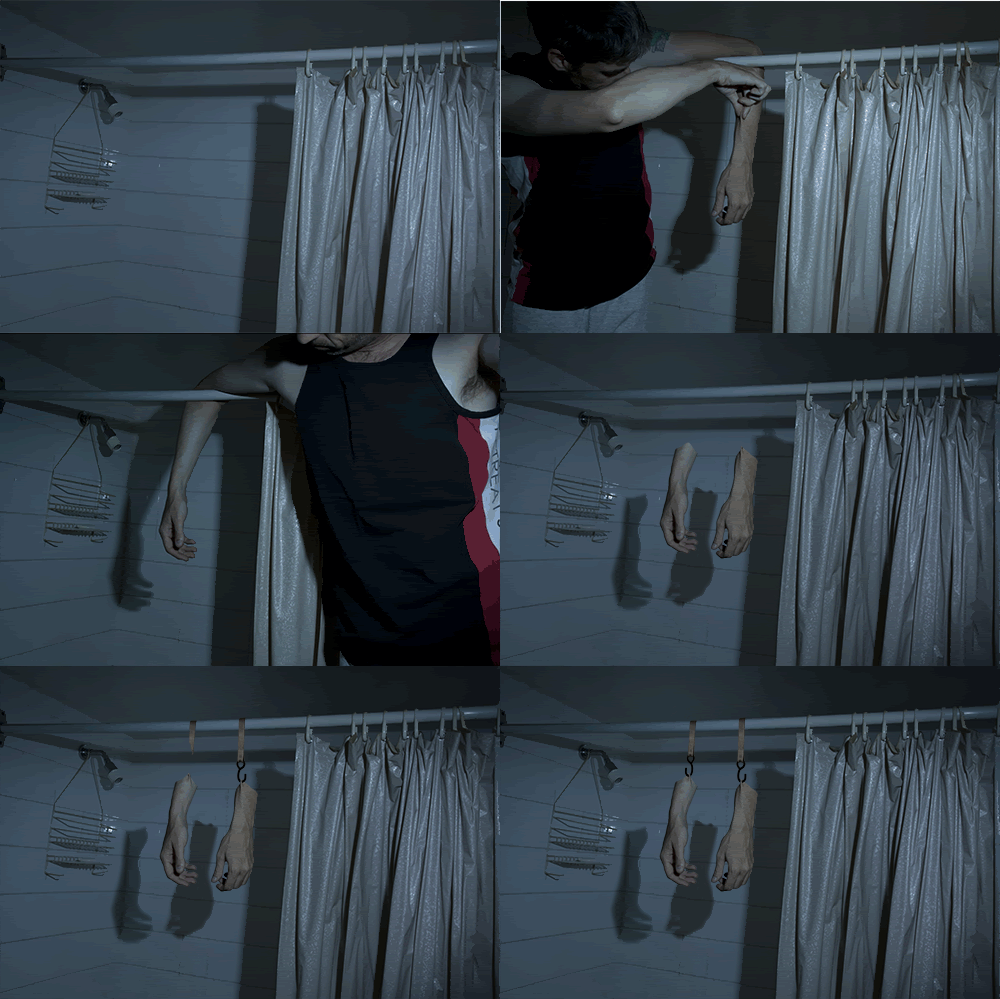
I took a pics of the shower, my left arm in place, and my right arm in place, and some hanging hooks. The camera was on a tripod so they would all match up when they were comp'd together - clearly I bumped it cuz they didn't match up, and set my flash to camera right with a blue gel on it to get a kinda erie "morgue"'ish color in the scene.
The pics I ended up choosing are the following (I had multiple hook shoots, but only showing one because they are all the same, just different angles):
In the EAW settings, I usually lower the Exposure a bit (- ~5), increasing the Blacks (+ ~5), and reducing Vibrance and saturation (- ~15-30). This gets the more gloomy, muted tones that I like. The other settings may be tweaked a bit too, but the above are almost always changed.
I also tweak the RAW's Temperature and Tint settings also, but values depend greatly on wether or not I add a gel to my flash, and what color it is. Pretty much guesswork. (Often the overall tone of my final result changes due to me finding a new color that I like playing in here).
I put all of the images in the same working file, and started masking out each arm, each arms shadows, and the the hook. Using the clone tool, and some painting I added the rest of the "Hook marks" from the pinch of skin in the left arm. Here's a WIP.
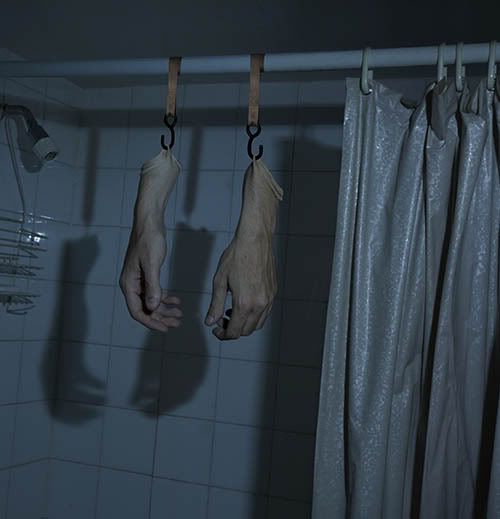
Once done, I flattened the image, add the wrinkles to the top of the arms:
At this point, the main work is done, and the remaining editing will adjust the overall image mood, and color.
I duplicate visible layers to a new layer (Cmd-option-shift-E), and convert it to black and white.
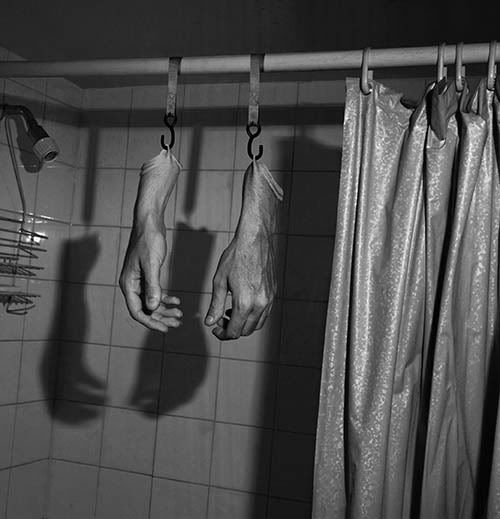
I do this step to most of my images to darken it a little more. I set the layer blending mode to overlay, (39% in this case), and masked out the shower curtain because I wanted it to remain a little brighter as it is closer to the light source. I again all layers to a new layer and run a HighPass filter over the new layer.
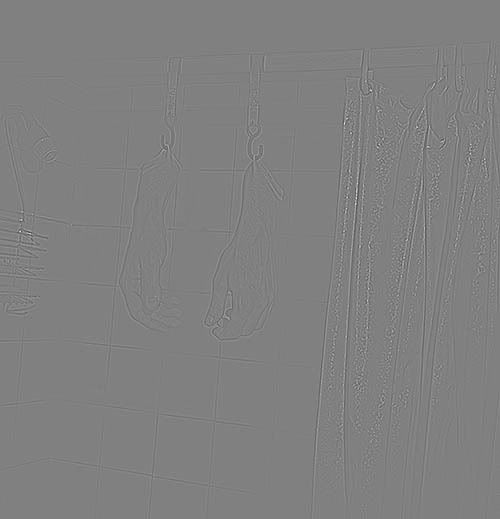
I set the Overlay layer to "Vivid Light" blending mode, and masked out the hands. (The highpass on vivid did not look good on the hands with big pore like artifacts appearing.)
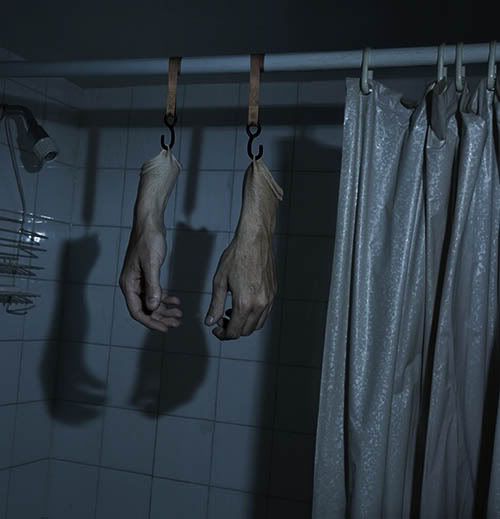
At this point, it looks good enough to me (or at least I've spent too much time on it) so resize, Crop, add a vignette, border, and posted.
Friday, May 30, 2008
Thursday, May 29, 2008
Wednesday, May 28, 2008
Motion
Color Portrait
Tuesday, May 27, 2008
Saturday, May 17, 2008
Friday, May 16, 2008
Thursday, May 15, 2008
Subscribe to:
Posts (Atom)